Editing Blog: Cut and Trim
Hello and welcome back to my blog! Me and my group have finished the filming process for our final task. I had so much fun working together and I’m very happy with how smoothly things went. While the filming process was relatively easy, I knew I had a lot of editing to do. With so many scenes and only two minutes, I knew that I had to cut down or even remove some scenes from the film.
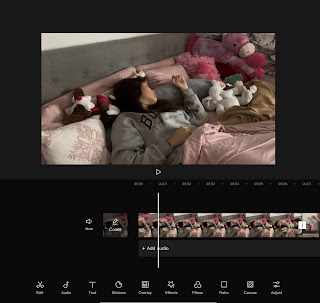
My first step was logging into CapCut and creating a new project. In this new project, I added all the clips I wanted to use in the film. In total, it all added up to two minutes and twenty seconds. This wasn’t over by much, but I knew a couple of scenes may have to be removed. But, before I started to remove any scenes, I decide to cut down the scenes that were too long. Since I didn’t want the scenes to have awkward cut offs, I made sure that my group didn’t stop filming the second a scene was finished. This meant that the clips had extra seconds of Hailey dropping her acting or me speaking. I cut down the scenes so that they only had the content I wanted for the film. This brought the total time down to about two minutes and ten seconds. I then removed the scene of Hailey’s feet as she stepped out of bed and a scene of Hailey searching around the mall, bringing the time down to a minute and fifty-five seconds.
Now that the scenes were cut down, I needed to add transitions to make them flow better. This film has a more serious tone, so I didn’t want to use any transitions that were over the top. I ended up using simple dissolves or fade outs between the scenes. This added a more natural flow between the scenes and made them less choppy. I also added on a filter to darken the tone of the scenes. With that, the first few steps of the editing process were over. This is Kyra signing off!


Comments
Post a Comment